【开发企业官网】11.首页显示新闻内容
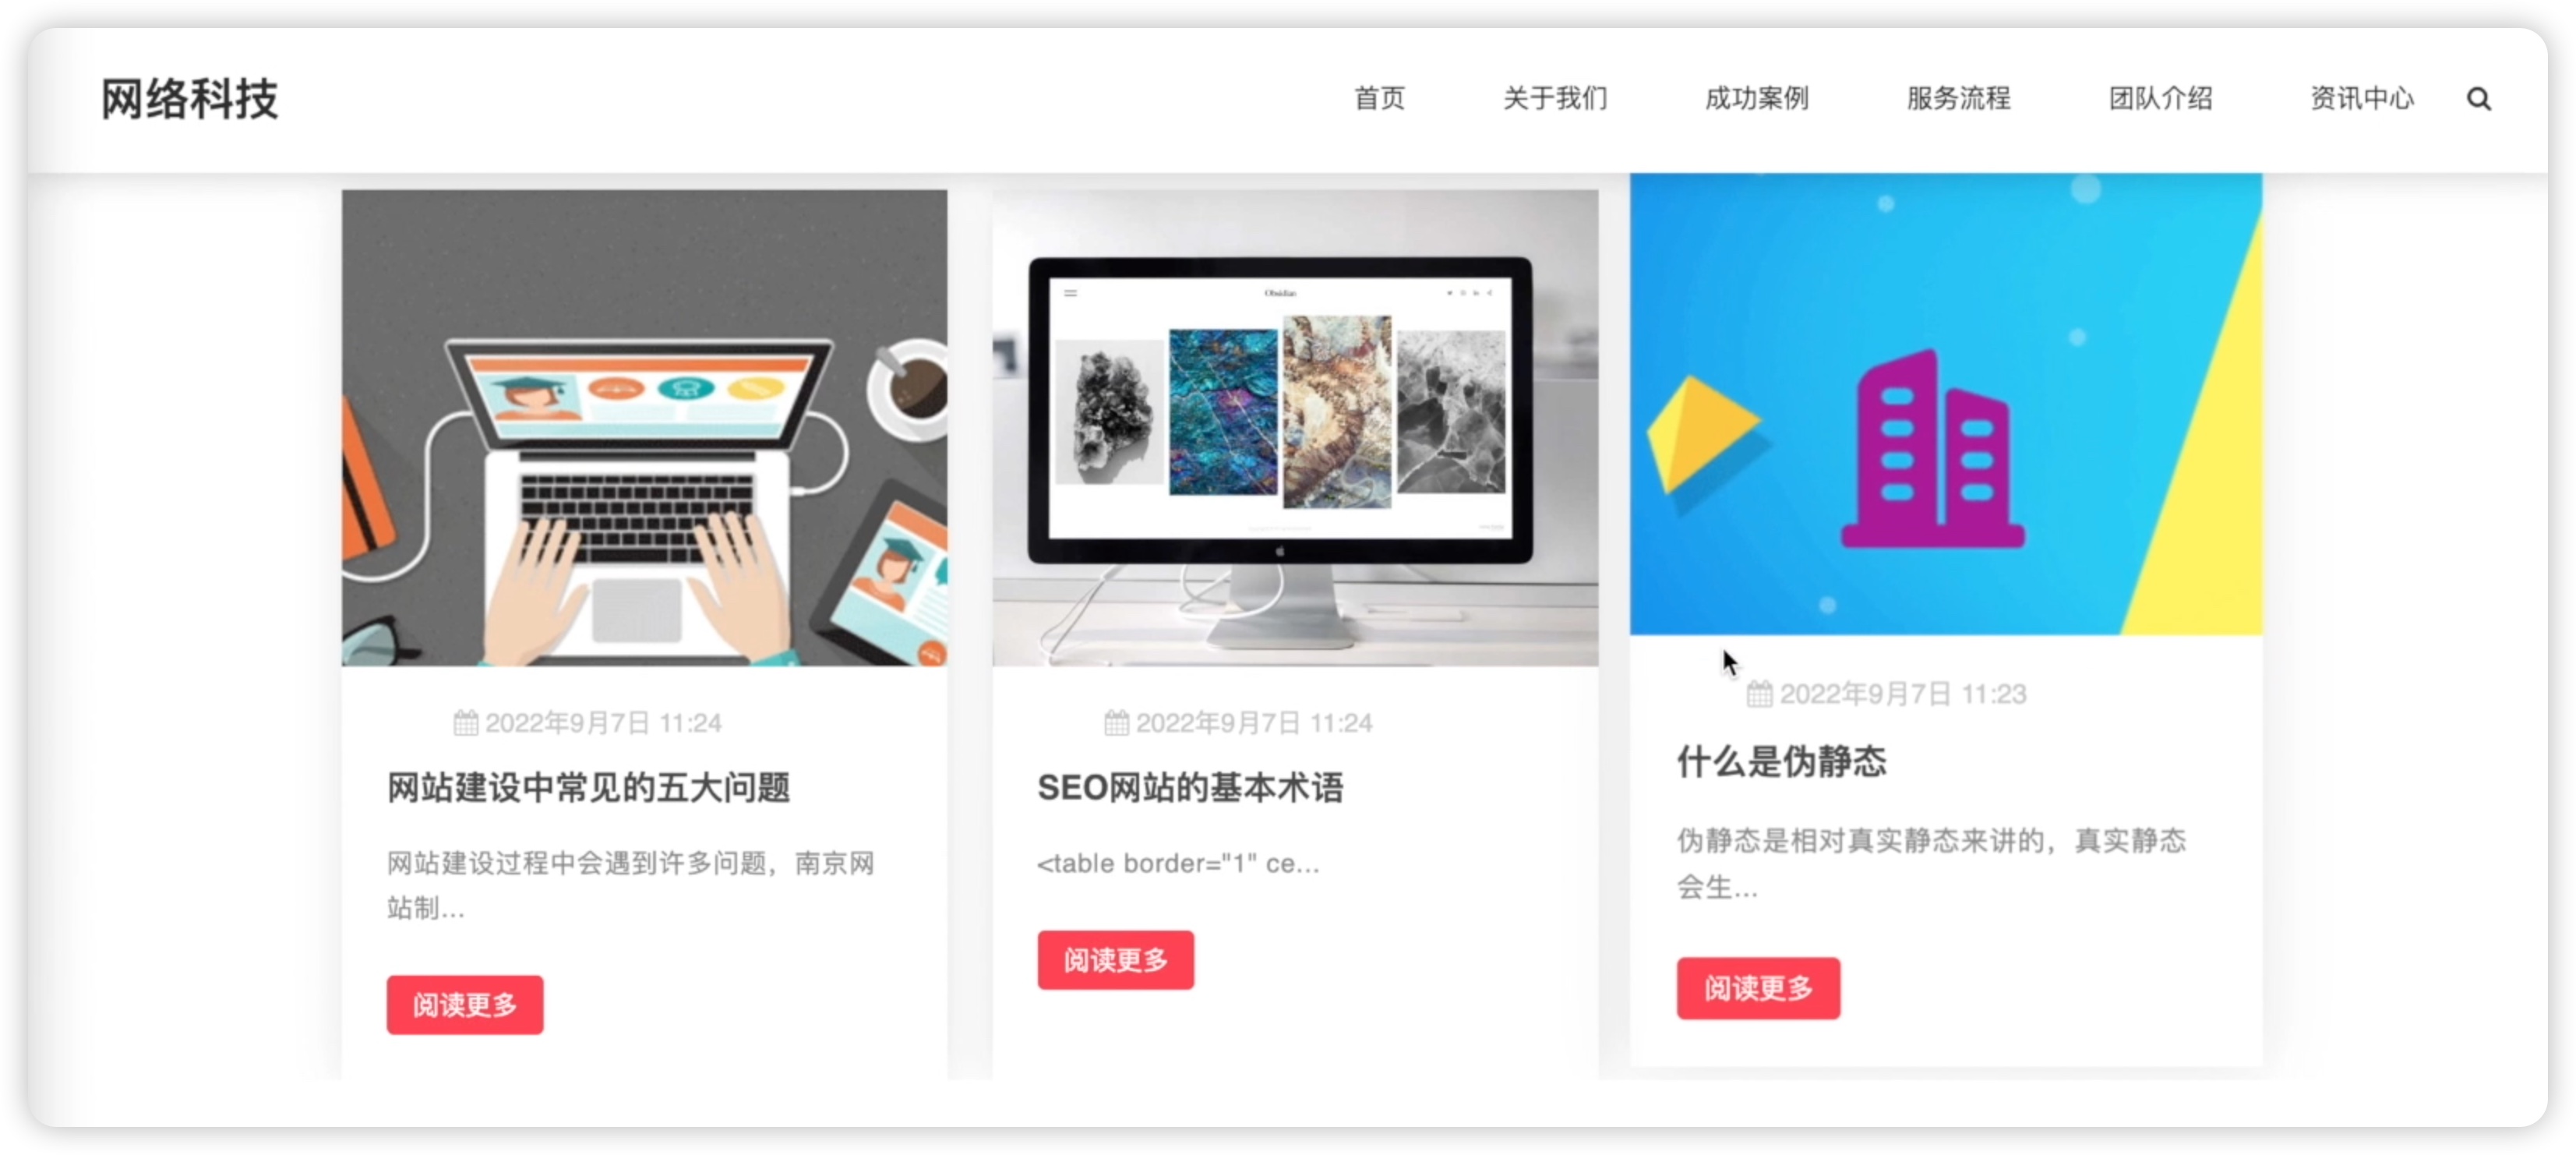
在本节课中,我们将介绍如何在网站首页上显示新闻内容。在新闻资讯板块中,我们可以看到有三个新闻。如下图所示:

因此,在获取内容时,我们将获取三个新闻,并设置数量限制。这三个新闻需要按照时间创建时间的倒序排序。接下来,让我们看看如何实现这一功能。首先,我们�找到mysite/views.py文件中网站的首页字段。在网站的字段中,我们继续获取“资讯中心”下的新闻。我们使用新闻对象进行筛选,并根据分类选择新闻类型为“新闻”的内容(category ID等于1)。然后,我们根据创建时间的降序排列,并设置获取数量为三个。我们将获取的新闻赋值给一个新变量,命名为“news”,并将其传递到页面中的“index.html”文件中的“资讯中心”部分。代码如下:
from django.http import HttpResponse
from django.shortcuts import render
from slide.models import Slide
from team.models import Team
from news.models import News

# Create your views here.
def index(request):
    # 获取slide表数据
    slides = Slide.objects.all()
    # 获取团队成员
    team = Team.objects.all().order_by('-rank')
    # 获取咨询中心新闻
    news = News.objects.filter(category_id=1).order_by('-created_at')[:3]
接下来我们在templates文件夹中index.html中我们将通过for循环遍历新闻内容,并将日期、标题和新闻图片替换到页面中的相应位置并且我们会在标题后面添加一个a标签链接,使其跳转到文章详情页。至此,我们完成了新闻内容在首页的展示。
<!-- 公司动态 -->
    <section id="company-activities" class="company-activities">
      <h2 class="title1">资讯中心</h2>
      <p class="intro">关注公司动态,获取一手信息</p>
      <div class="activities">
        {% for item in news %}
        <div class="activity">
          <div class="act-image-wrapper">
            <img src="/media/{{item.cover}}" alt="">
          </div>
          <div class="meta">
            <p class="date-published">
              <i class="fa fa-calendar"></i> {{ item.created_at }}
            </p>
          </div>
          <h2 class="act-title">{{ item.title }}</h2>
          <article>{{ item.content|slice:'20' }}...</article>
          <a href="/news/{{item.id}}">
          <button class="readmore-btn">阅读更多</button>
          </a>
        </div>
        {% endfor %}
      </div>
      <div>
        <a href="/news/list">
          <button class="readmore-btn">查看全部新闻</button>
        </a>
      </div>
    </section>
回到我们的浏览器刷新页面,显示如下:
点击阅读更多,会跳转到对应的新闻详情页,页面如下:

接着,我们将处理成功案例的展示。这一部分包含了许多成功案例,而且当我们点击不同的分类时,它会展示不同的图片。因此,我们需要对其进行一些处理。如下图所示:
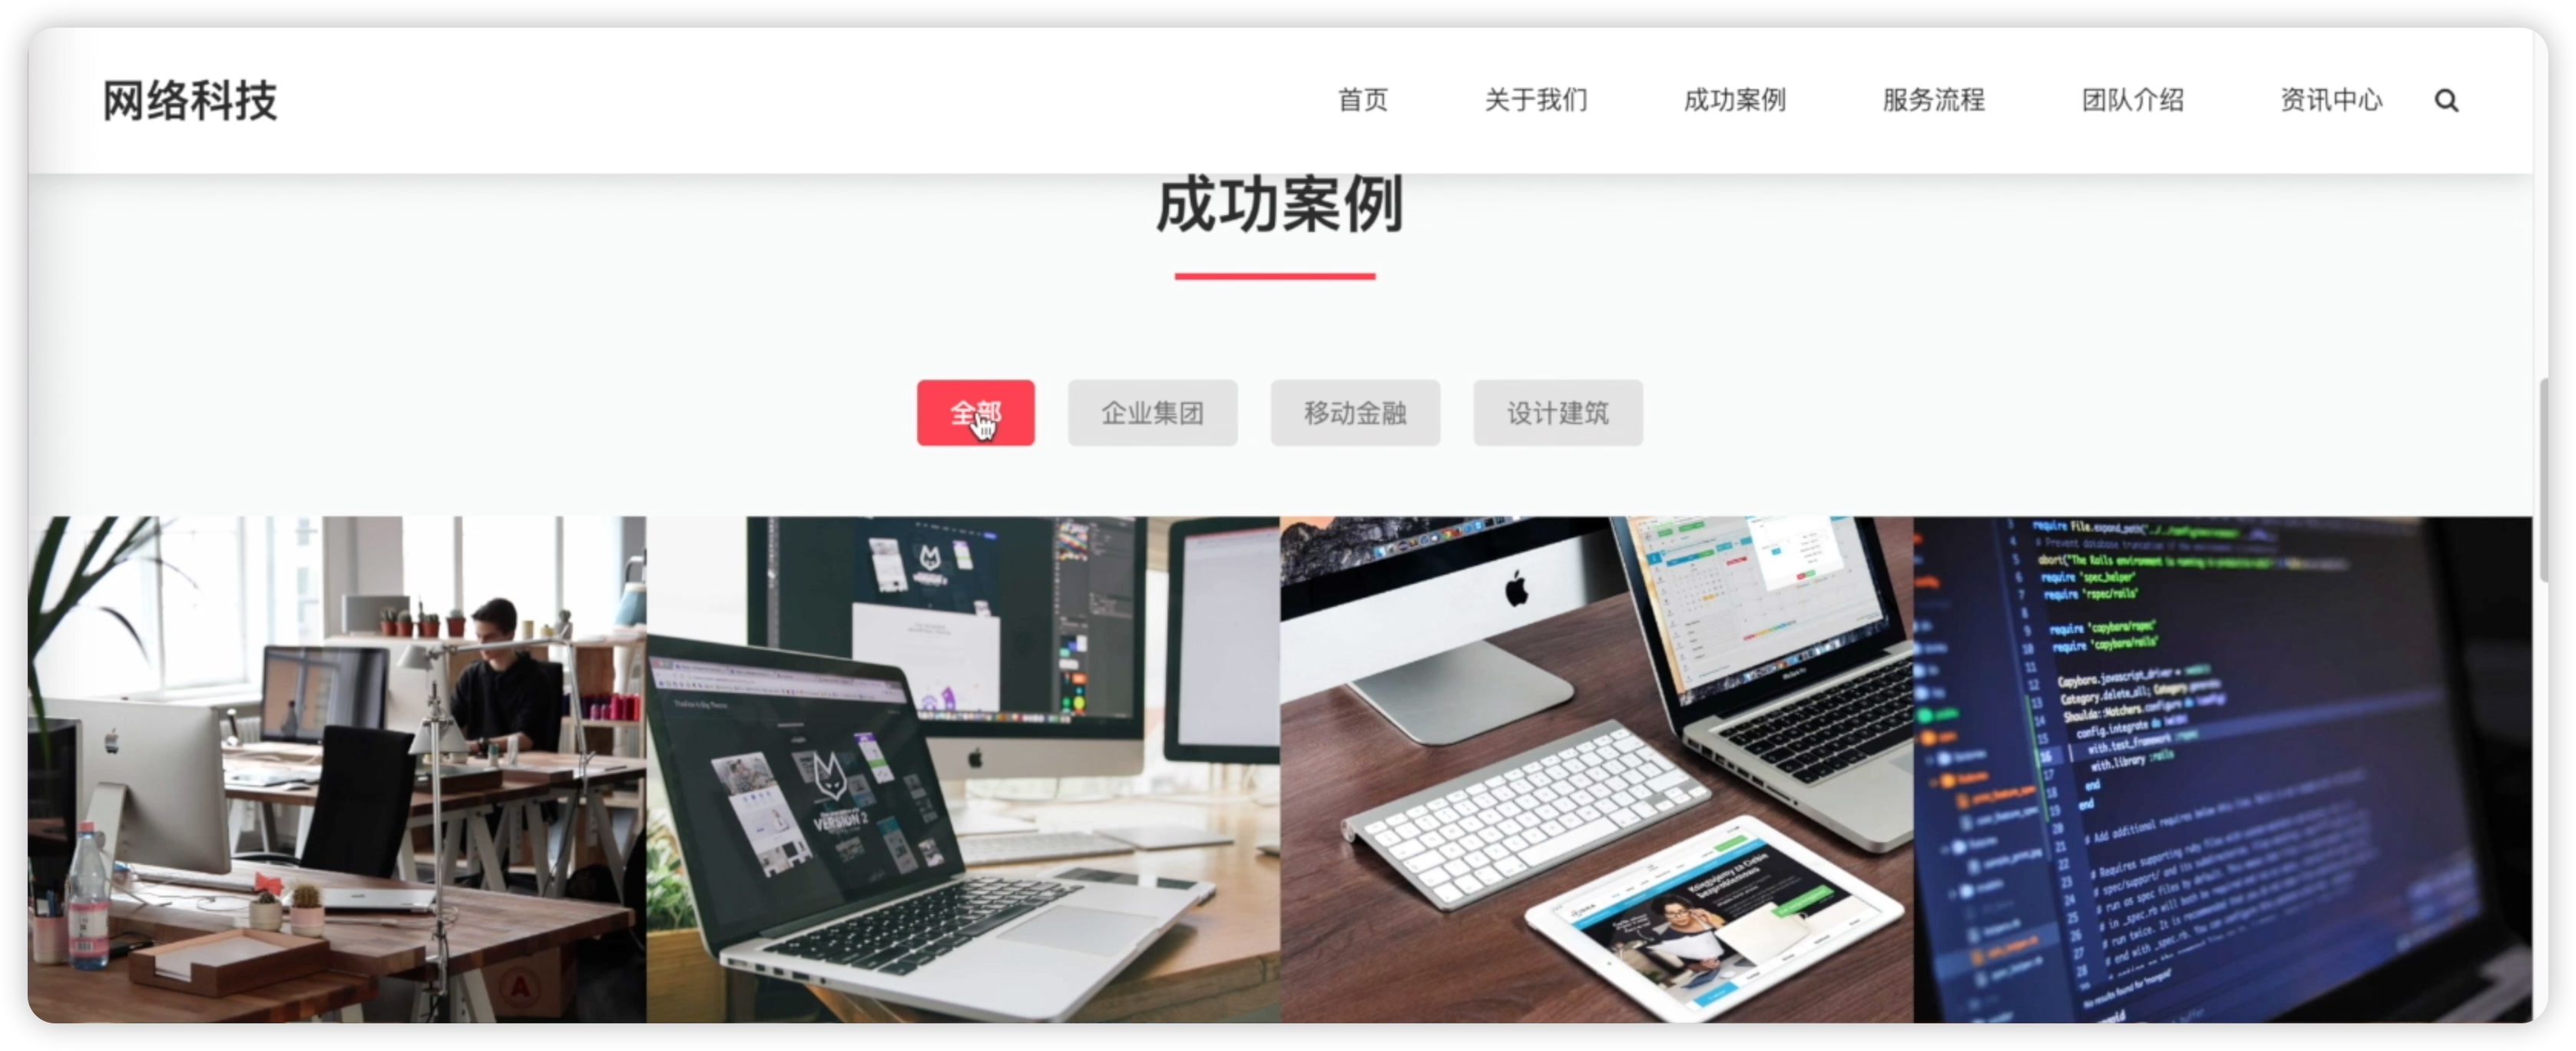
首先我们找到mysite/views.py文件中网站的首页字段,在视图中获取成功案例。虽然它也是在新闻中获取的,但内容不同。我们将其命名为“cases”。在筛选时,我们要求ID不等于1的案例,因为这些案例和新闻不同。我们使用了排除方法来实现这一要求,排除了分类为1的情况。同样地,我们也对其进行了排序,并选择了最多6个案例进行展示。修改代码如下:
from django.http import HttpResponse
from django.shortcuts import render
from slide.models import Slide
from team.models import Team
from news.models import News

# Create your views here.
def index(request):
    # 获取slide表数据
    slides = Slide.objects.all()
    # 获取团队成员
    team = Team.objects.all().order_by('-rank')
    # 获取咨询中心新闻
    news = News.objects.filter(category_id=1).order_by('-created_at')[:3]
    # 获取成功案例内容
    cases = News.objects.filter().exclude(category_id=1).order_by('-created_at')[:6]
    return render(request, 'index.html', {
                      'slides': slides,
                      'team': team,
                      'news': news,
                      'cases': cases,
                      })
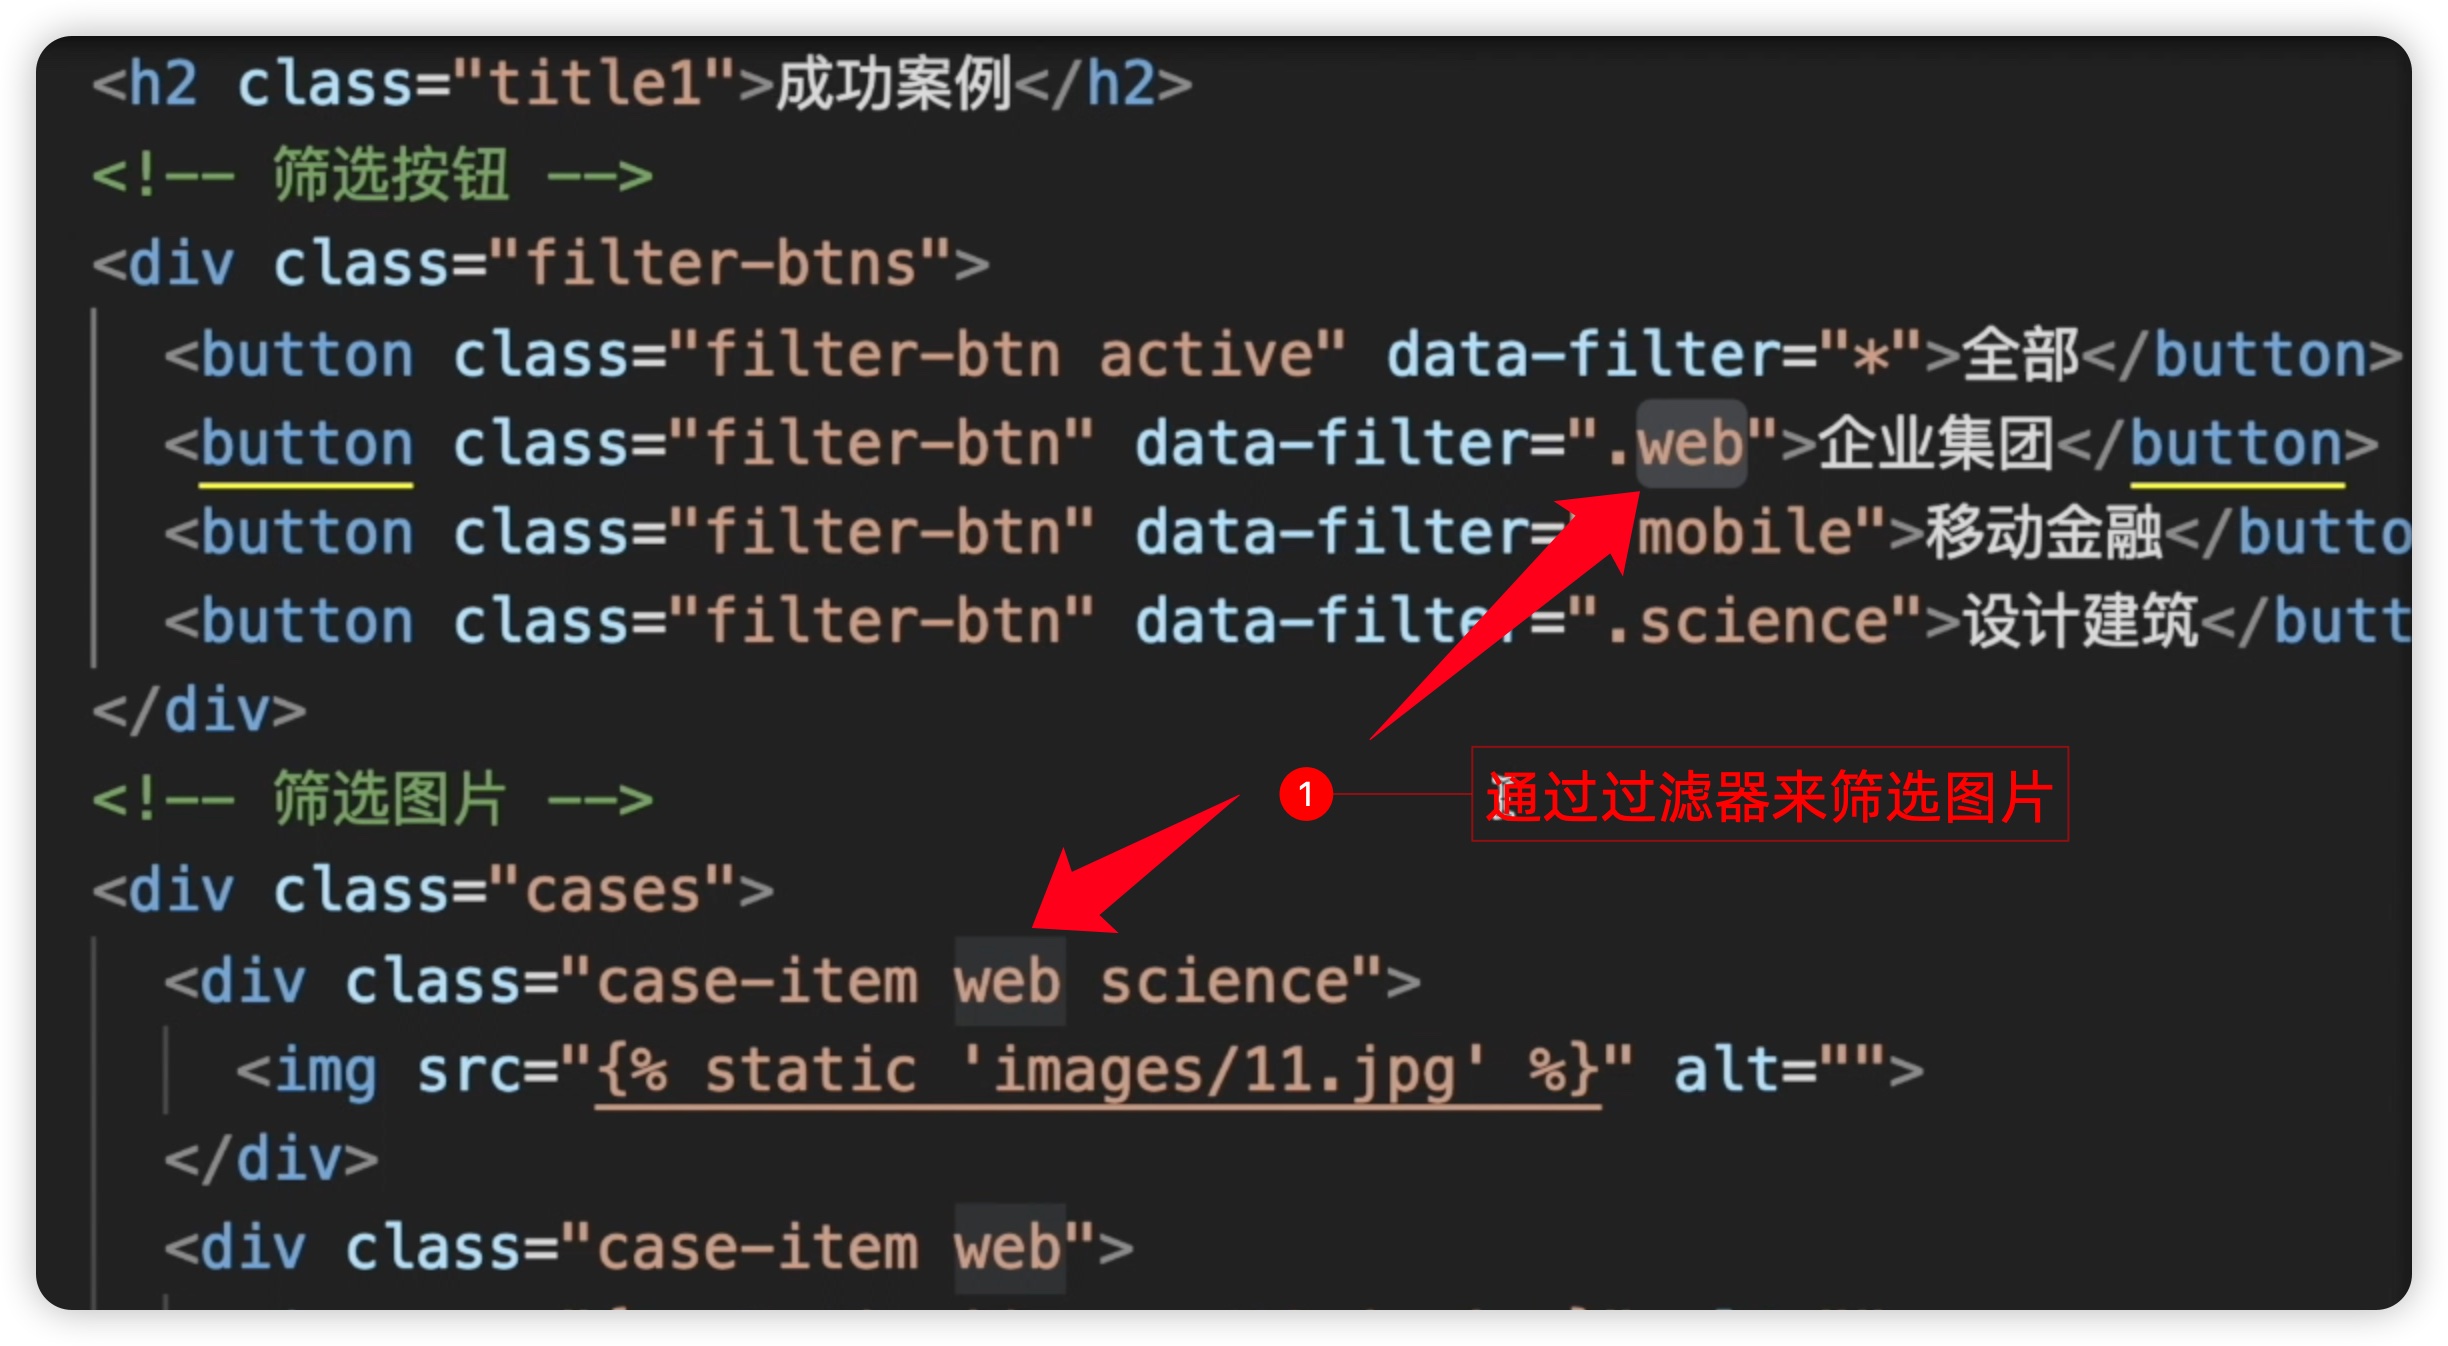
接着,我们将获取到的案例渲染到页面上,并在“index.html”文件中找到对应的图片部分。我们找到筛选图片,但筛选时可能会遇到一些特殊的标识,比如class为“web”。在这里,我们需要对其进行处理。如下图所示:
我们先找到各个分类的ID,比如企业集团的ID为2,移动金融的ID为3,建筑设计的ID为4,如下图所示:
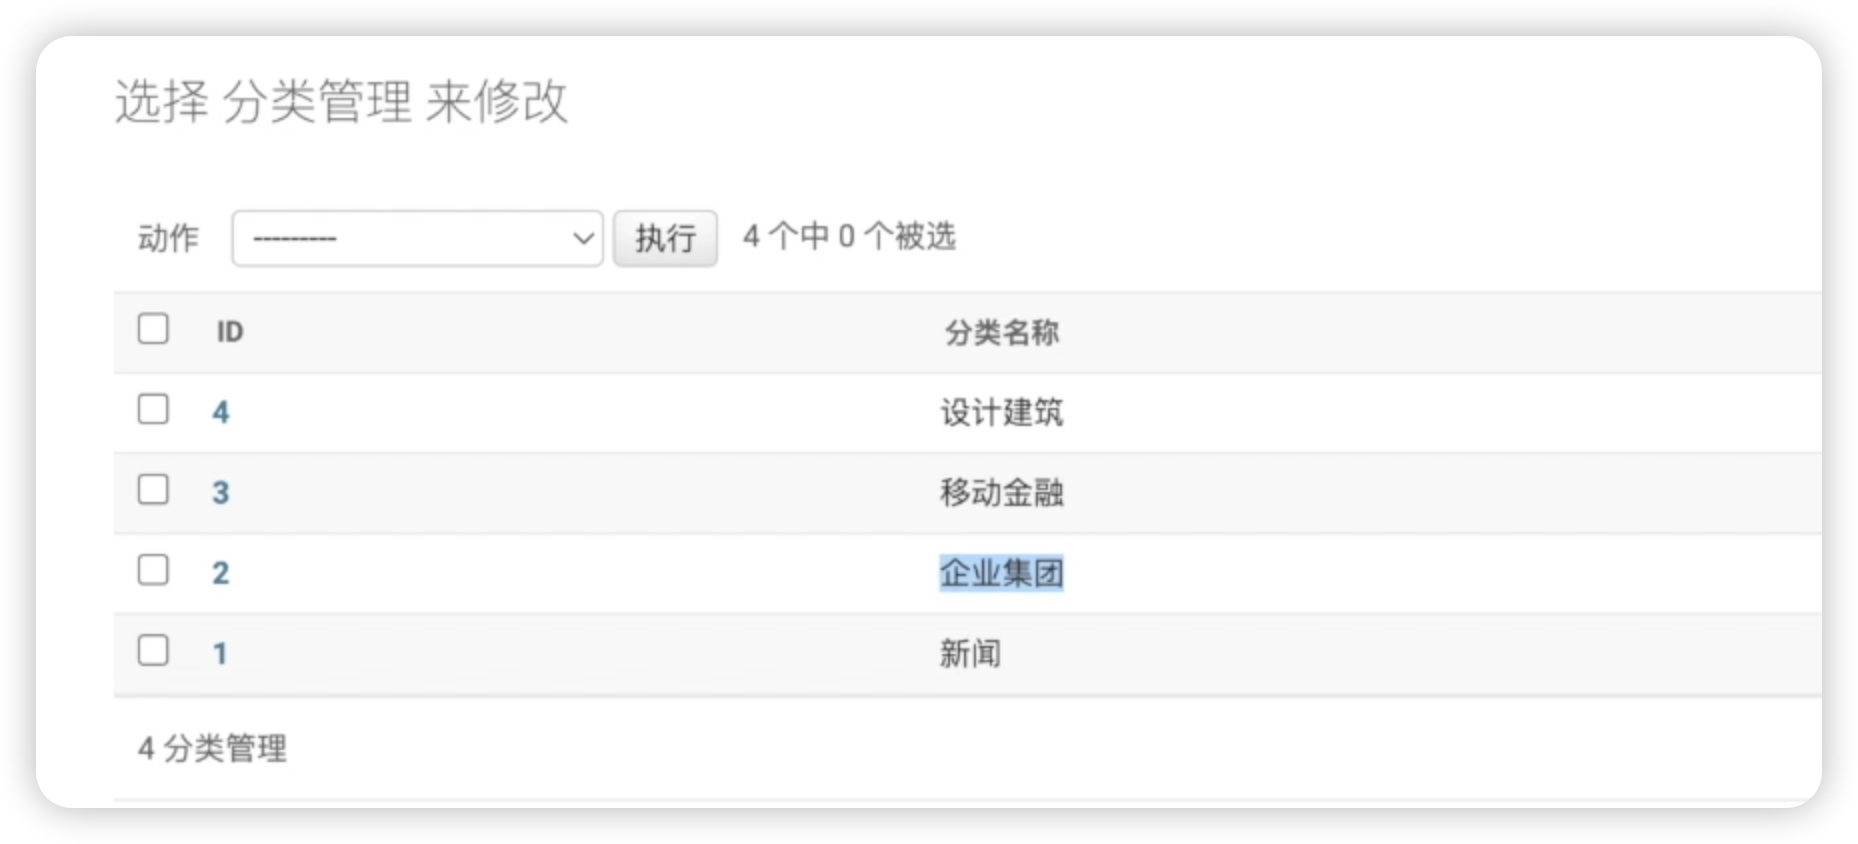
然后在index.html中相应地修改class。我们使用循环的方式来展示这些图片,并根据其所属的ID添加相应的class。代码如下:
 <!-- 成功案例 -->
    <section id="showcases" class="showcases section-bg">
      <h2 class="title1">成功案例</h2>
      <!-- 筛选按钮 -->
      <div class="filter-btns">
        <button class="filter-btn active" data-filter="*">全部</button>
        <button class="filter-btn" data-filter=".category_2">企业集团</button>
        <button class="filter-btn" data-filter=".category_3">移动金融</button>
        <button class="filter-btn" data-filter=".category_4">设计建筑</button>
      </div>
      <!-- 筛选图片 -->
      <div class="cases">
        {% for item in cases %}
        <div class="case-item category_{{item.category.id}}">
          <a href="/news/{{item.id}}">
          <img src="/media/{{item.cover}}" alt="">
          </a>
        </div>
        {% endfor %}

      </div>
    </section>
我们就成功地实现了在首页展示成功案例并根据分类展示不同图片的功能。

至此,我们完成了本节课的内容。在首页展示了新闻内容,并实现了成功案例的展示。希望以上内容能够帮助大家理解并应用于实际项目中。我们下节课再见!